MintHCM 3.x Installation Guide
| MintHCM 3.x Installation Guide |
|---|
Contents
Short Description
This guide covers the installation process for MintHCM version 3.x.
For instructions for the latest 4.x release please visit MintHCM Installation Guide
Requirements
To run MintHCM, your system must have PHP 7.1 (only!) and MySQL 5.6 - 5.7 or MariaDB 10.0 - 10.3 installed. Other versions are not supported!
MintHCM is compatible with Chromium, Firefox, and Edge web browsers. Unfortunately, we do not support IE, but you can still test and use it by yourself.
Preparing for installation
To install MintHCM you will need Linux or Windows platform, a web server with PHP installed and a database.
The first step towards installation is downloading MintHCM to your server and preparing files to be installed. To do so, follow the steps:
- Download MintHCM zip file from https://minthcm.org/download/
- Copy the zip file to your server
- Unzip it in the directory of your choice
- Change files permissions in that directory accordingly with your platform demands
For Ubuntu Linux/Apache it will be:
cd ../<yourMintHCMdirectory>
sudo chown -R www-data:www-data *
sudo chmod -R 755 *
where www-data are default user and group for Ubuntu Linux/Apache. However, it might have been changed on your server. Use the actual system user and group.
Installation of MintHCM
Once you have your files prepared, you can start actual installation. To do so, follow the steps below:
1. Open your web browser and enter the following URL to start the installation wizard.
https://my-server-or-domain.com/my-minthcm-directory
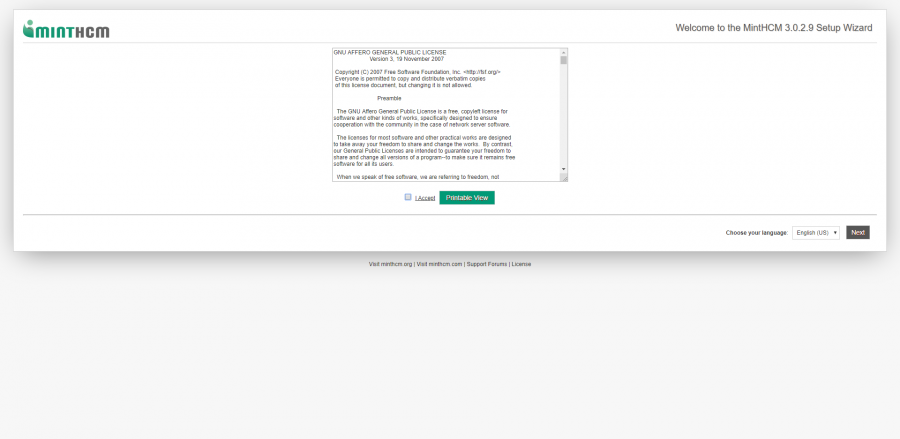
The installation wizard will start now.
2. On the first screen you have to accept the licence agreement. After that you can click the next button.
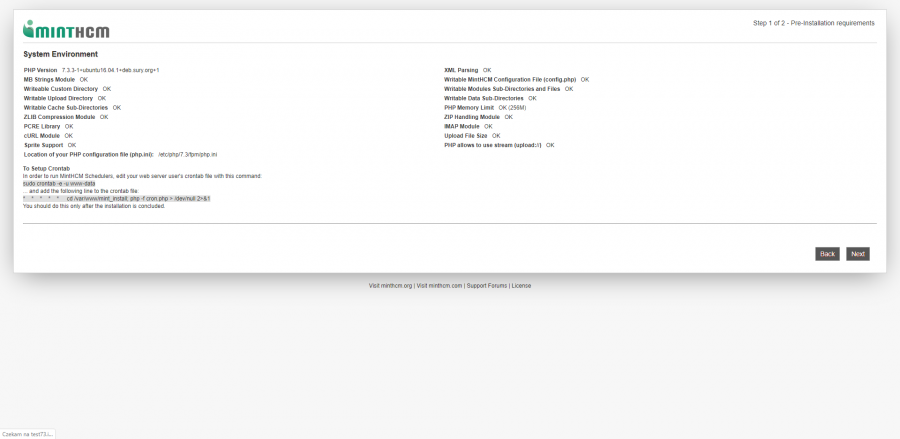
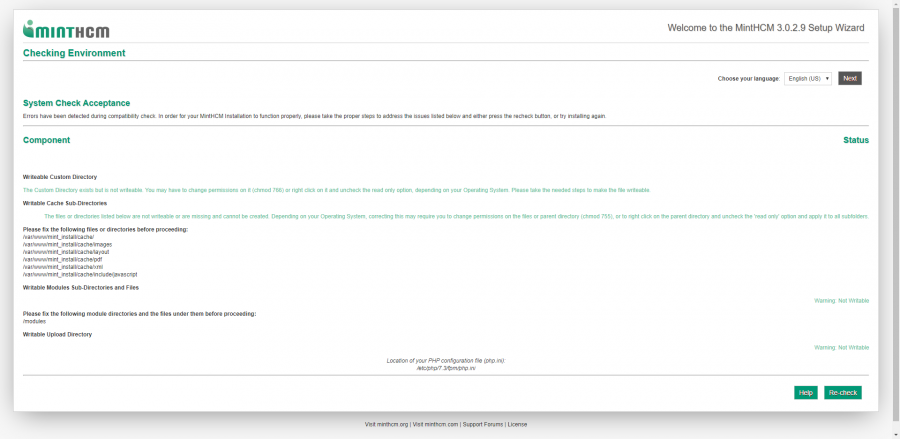
3. In a moment another screen with system environment information will appear.
It's important to set up a Crontab to allow MintHCM to run background tasks on your server. Edit your web server user's crontab file after the installation is completed.
To do so, you have to edit your web server user's crontab file. You can open it with a command:
sudo crontab -e -u www-data (or another actual user)
Now you have to add the following line to the crontab file:
* * * * * cd /var/www/MintHCM/MintHCM; php -f cron.php > /dev/null 2>&1
Information about Crontab edition may be also found in Schedulers in Administration panel of MintHCM after installation.
Note that Windows or other systems have different background processes mechanisms.
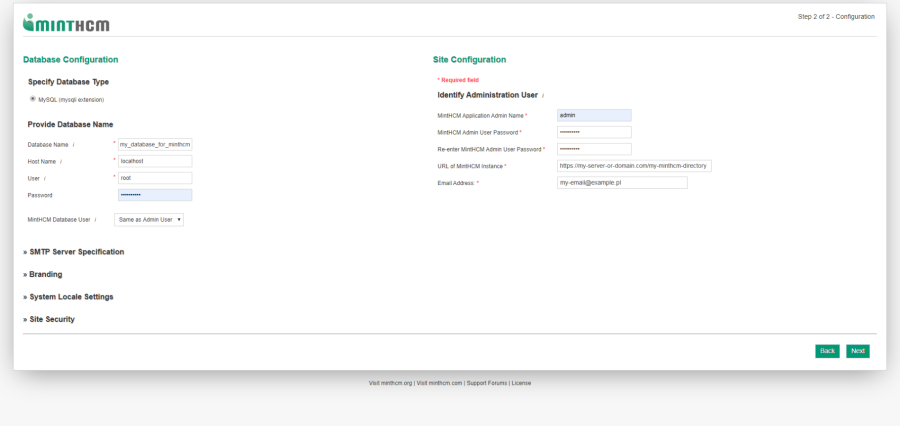
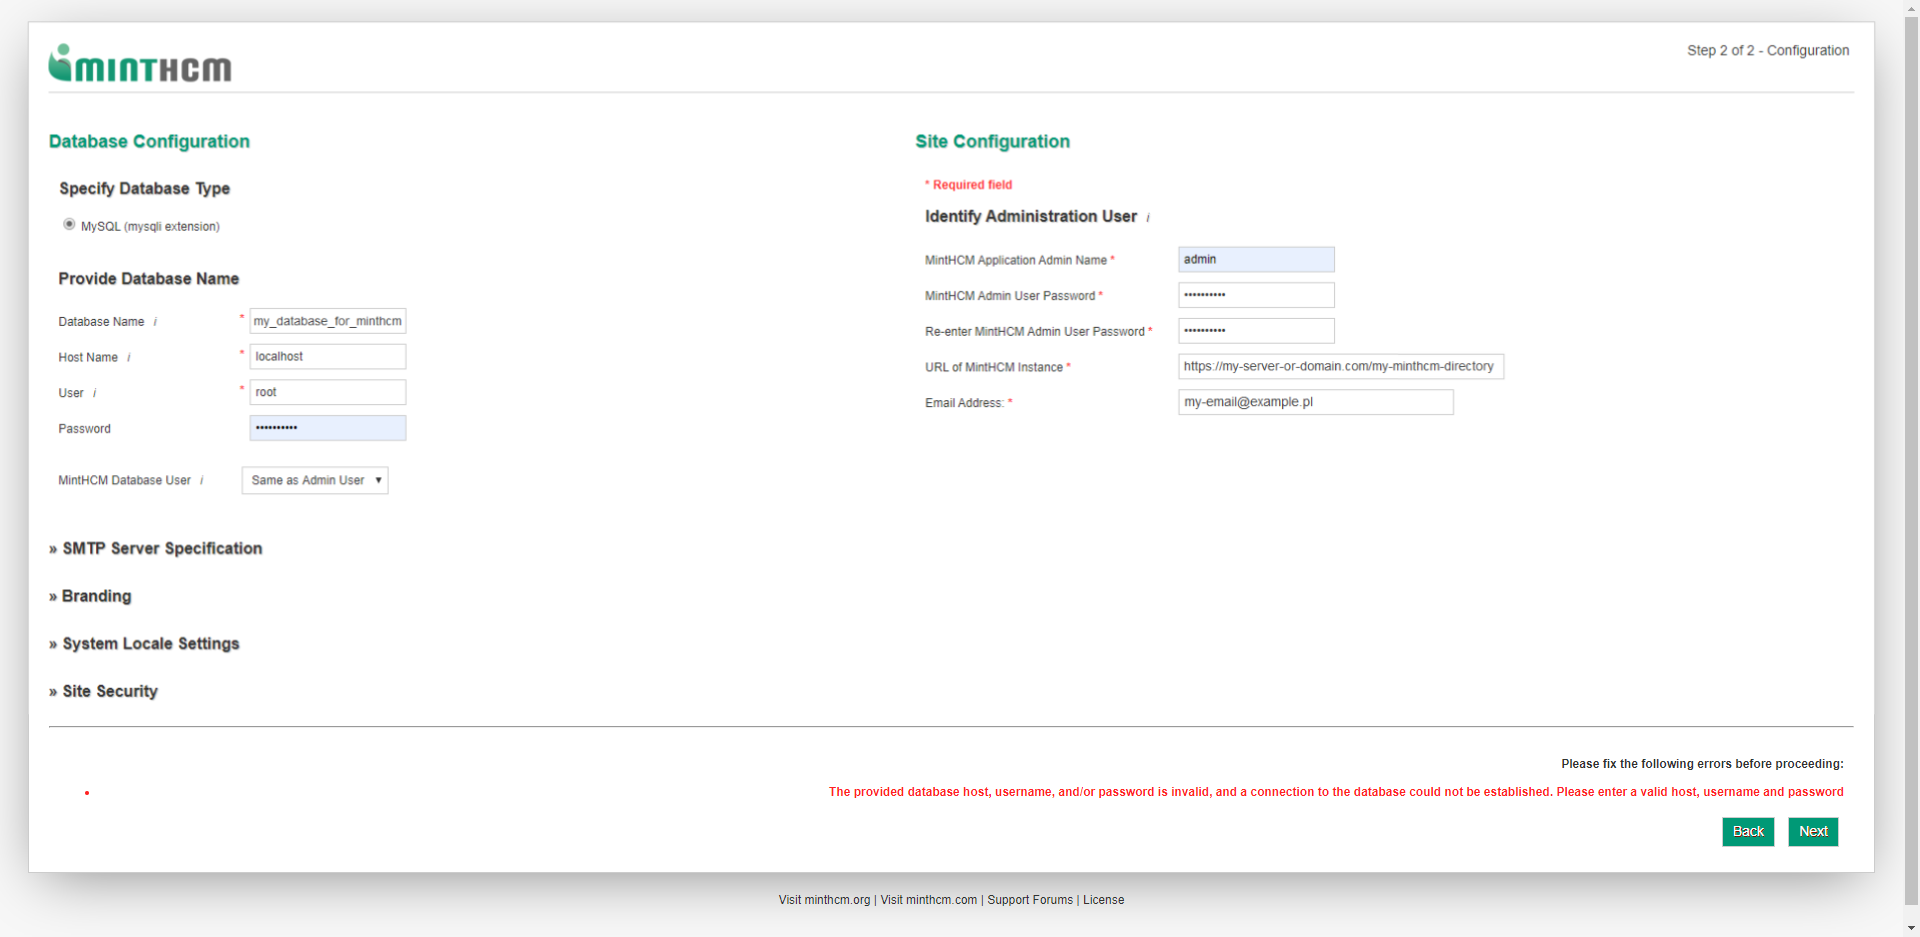
4. Enter basic database configuration and administrator user data on the next screen.
If the database and MintHCM are on the same server, enter 'localhost' in the Host Name field. If the database is on a different server, enter the hostname or IP address of the database server in the Host Name field.
MintHCM Database User is by default set to root. If you want to choose another user, change it here.
5. Set up your administrator user name and password, so you can log in MintHCM later.
Here, you can configure basic global settings such as email server settings, branding (including logo of your company), system settings (i.e. time and data format) and security options. All of those settings may be configured after the installation as well.
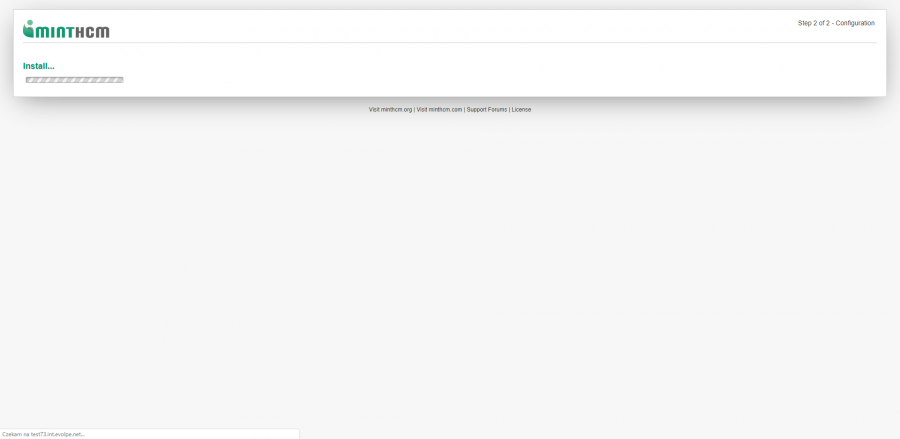
6. If everything was alright with data provided, installation will begin. It may take a while.
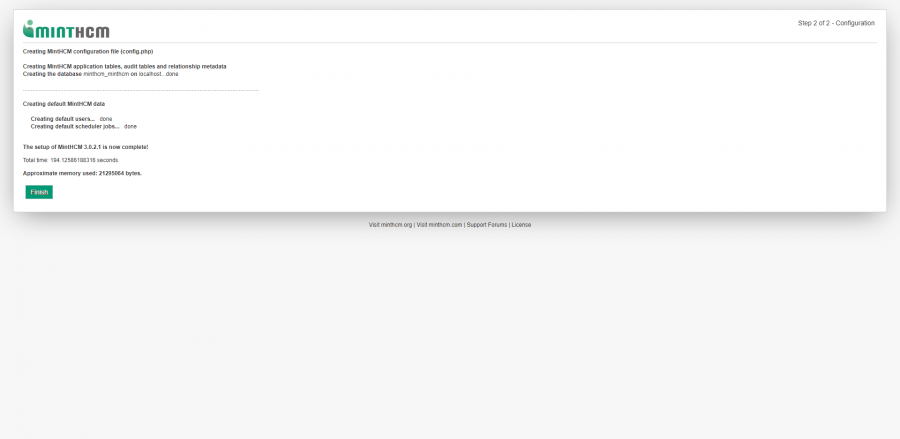
7. After installation is completed, you will see the last screen. Among others, it provides information of total time of installation and memory use.
After clicking the finish button, the installation is complete and you can log in to your MintHCM instance as an administrator with the username and password you set up earlier.
Troubleshooting
Here you can find instructions on troubleshooting common errors that may occur during the installation process of MintHCM software. It includes solutions for errors such as permission errors, invalid database host/username/password, and missing config.php file.
If you can't find your problem below, check out our support forum here: https://minthcm.org/support/ You may also describe your problem and get help by sending an email to contact@minthcm.org
Permissions error
This may occur, when files permissions were not change before the installation. Check your file permissions in MintHCM installation files directory, if necessary run commends provided below and start installation again.
sudo chown -R www-data:www-data *
sudo chmod -R 755 *
or if this will not work, try:
sudo chown -R www-data:www-data .
sudo chmod -R 755 .
Database could not be established
"The provided database host, username, and/or password is invalid, and a connection to the database could not be established. Please enter a valid host, username and password"
This error is most probably caused by invalid data provided by user, such as database host name or password. To solve this, double check your host, user name, password, etc. Also, check if your MintHCM Database user matches the actual user you can and want to use in this instance of MintHCM.
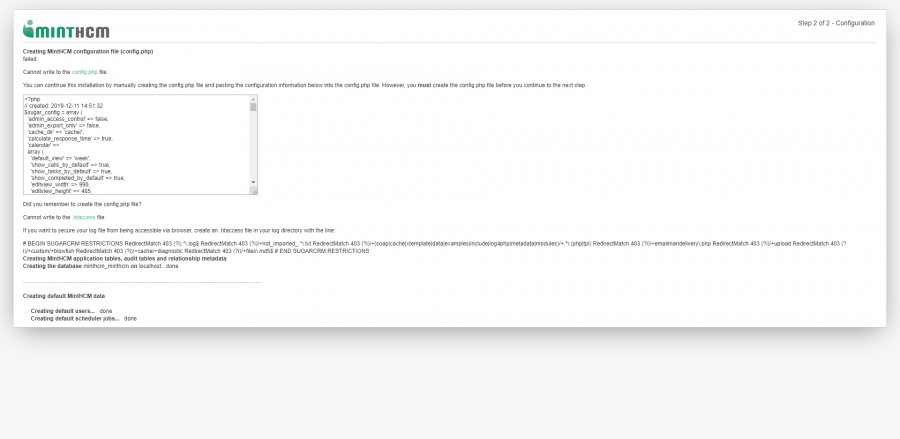
Config.php file is missing
This error may also be caused by file permission restrictions. Check the file permissions in the MintHCM installation files directory and restart the installation if necessary. You can also create config.php file manually.
To do so, just create config.php file in your MintHCM instance directory, paste the code form the installer and save the file. After that, you can go to your instance (i.e. through URL https://my-server-or-domain.com/my-minthcm-directory). The instance should be running and you should see basic configuration options after logging in.
Specified key was too long; max key length is 1000 bytes
Cause
There is a known bug with MySQL related to MyISAM, the UTF8 character set and indexes that you can check here.
Resolution
- Make sure MySQL is configured with the InnoDB storage engine.
- Change the storage engine used by default so that new tables will always be created appropriately:
set GLOBAL storage_engine='InnoDb';
- For MySQL 5.6 and later, use the following:
SET GLOBAL default_storage_engine = 'InnoDB';
System displays Warnings and Notices
You have to disable displaying errors in php settings (php.ini). Usually the file is located /etc/php7.X/fpm/php.ini You can also check the location in phpinfo.
You have to change line:
display_errors = Off
After that, restart php.
